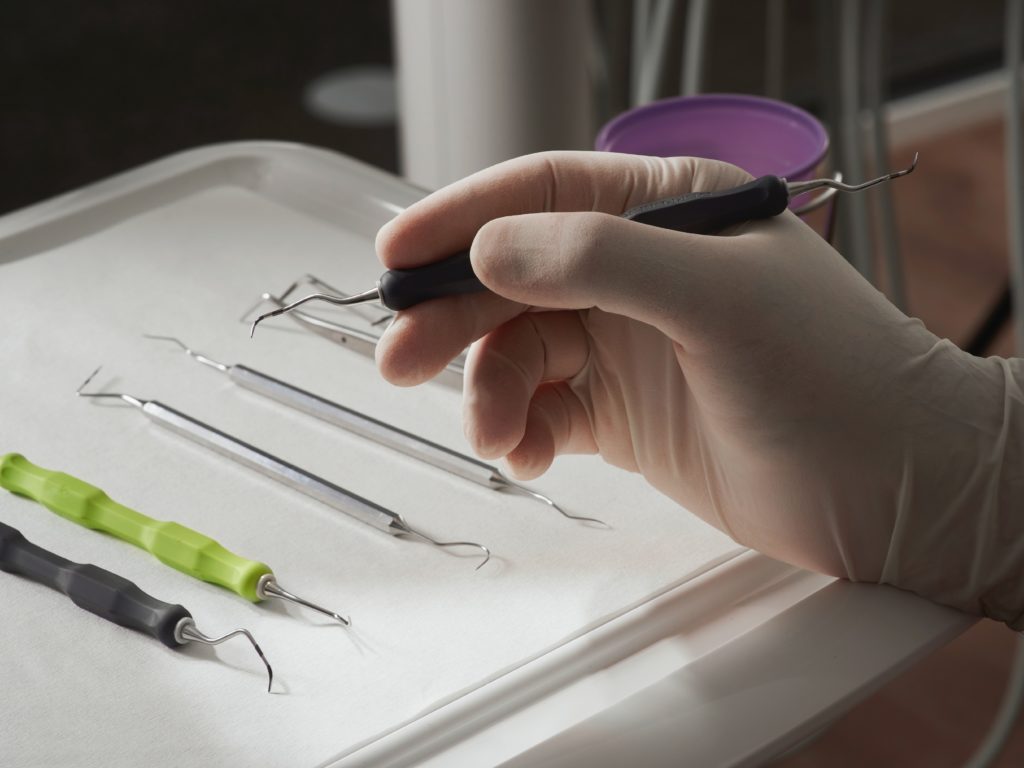
A dental professional is only as good as their instruments, which is why it is important to understand how to properly care for your instruments, and when it is time to replace them.
The Initial Step
The first vital step to take when beginning the sterilization process is to pre-soak your instruments. A lot of times, appointments will be back-to-back and there isn’t time to immediately clean them. Pre-soaking in a solution, such as enzymatic spray gels, can help break down debris and make cleaning easier.
After the pre-soak is completed, it is important to check for any visible debris before placing the instruments into the steamer. This will ensure proper sanitization of the instruments. Once they have been cleaned and sterilized, they can be individually packaged and ready for use once again.
But how do you know if your instrument is still up to par, even after proper maintenance and sterilization? There are a few signs to look out for, that will save you and your patients a lot of pain.
Reading the signs of Instrument quality
The number one important sign is dullness – dullness in an instrument will make for a painful treatment for your patient, and can aggravate the practitioners’ body as well, due to increase pressure while using the dull instruments. Regular sharpening of instruments can mitigate this risk factor.
However, if the width or length of an instrument is more than 20% reduced, it is time to replace the instrument. Manufacturers will provide guidelines on how long an instrument can last, based on frequency of use, and that will be the ultimate tool in determining if your instruments need replacing.


